Building a golf course green is both an art and a science. Whether you’re creating a professional-level course or a personal putting green, careful planning and precise execution are key to achieving a smooth, durable, and well-draining surface.
From selecting the ideal location to installing proper drainage and choosing the right soil composition, every step plays a crucial role in the final result. In this guide, we’ll walk you through the essential steps of building a high-quality golf course green, ensuring a lush and playable surface for years to come. Let’s get started!
Here are the general steps of how to build a golf course green
1. DESIGN & PLANNING
This is one of the most critical steps in building a golf course green. Choosing the right location will impact playability, daily maintenance, and even the health of the grass.
Take time to evaluate drainage, sunlight exposure, and overall course design to set yourself up for success. Skipping this step could lead to costly issues down the line.
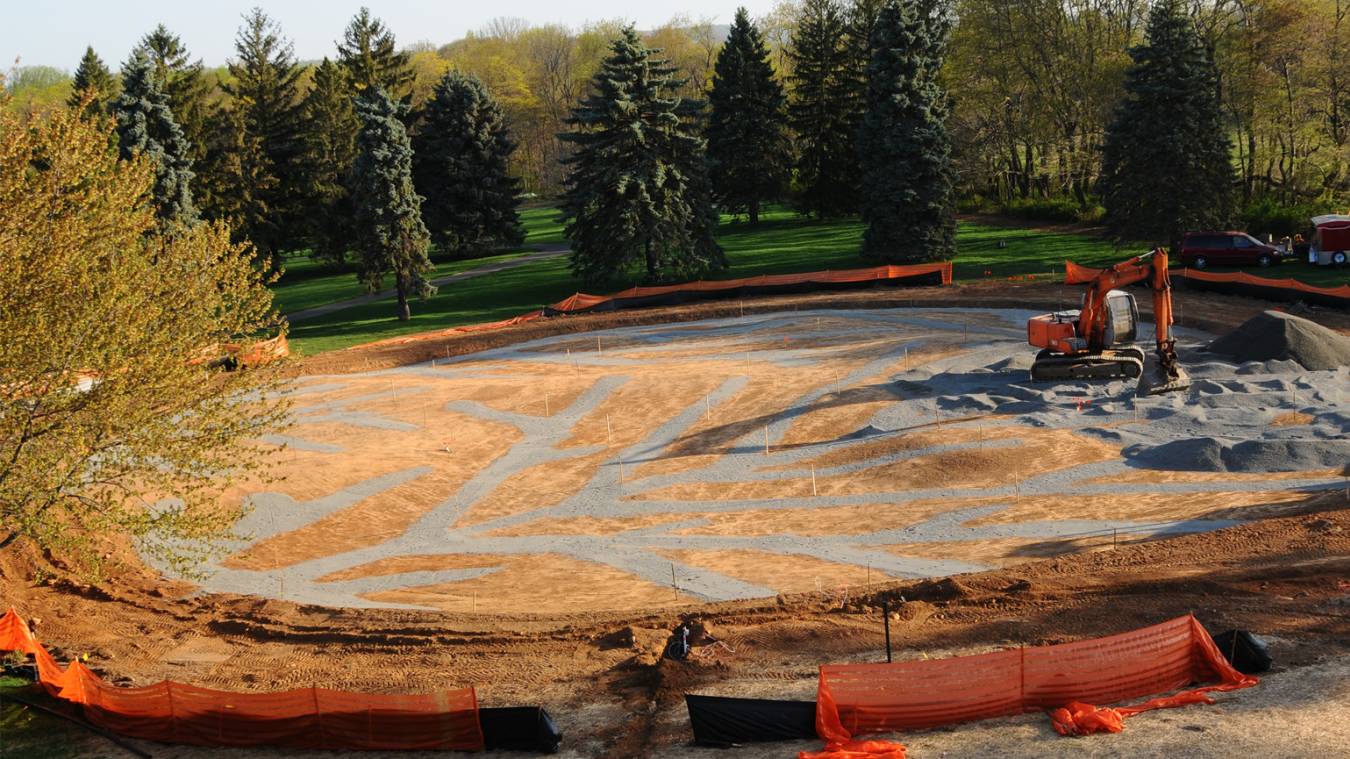
2. STRIP & EXCAVATE
Once you’ve selected the ideal location, remove any existing grass or sods. If handled carefully, some sods can be repurposed for general course maintenance.
After stripping the area, excavate to a depth of 20 inches (51 cm) to prepare for the drainage system.
3. DRAINAGE INSTALLATION
Proper drainage is crucial for maintaining a high-quality green. In the excavated area, dig 8-inch (20 cm) trenches at key locations for drainage.
Lay perforated pipes within the trenches and fill them with pea gravel to facilitate water flow and prevent flooding.
4. GRAVEL COMPACTION
Cover the entire excavated area with a 4-inch (10 cm) layer of pea gravel.
This layer is essential for allowing excess water to drain effectively.
Compact the gravel thoroughly to create a stable foundation that enhances durability.
5. ROOTZONE LAYER
Next, apply a 2-inch (5 cm) layer of rootzone—a specially mixed soil that typically consists of 60% sand and 40% sandy soil.
Compact this layer to provide a firm yet supportive base for turf growth.
6. TOPSOIL
Once your sub-grades are in place, cover them with 14 inches (35 cm) of topsoil. T
he topsoil should contain 60% sand and no more than 20% clay to optimize drainage and turf growth. Compact the soil evenly to create a smooth, consistent surface.
Tip: If you’re building your green to USGA standards, ensure your soil mix has been tested and meets the required specifications.
7. SEEDING
For the best results, we recommend seeding your new greens rather than laying sod.
While sod can speed up the process, seeding ensures a more uniform colour and healthier turf in the long run. Be patient—great greens take time to establish
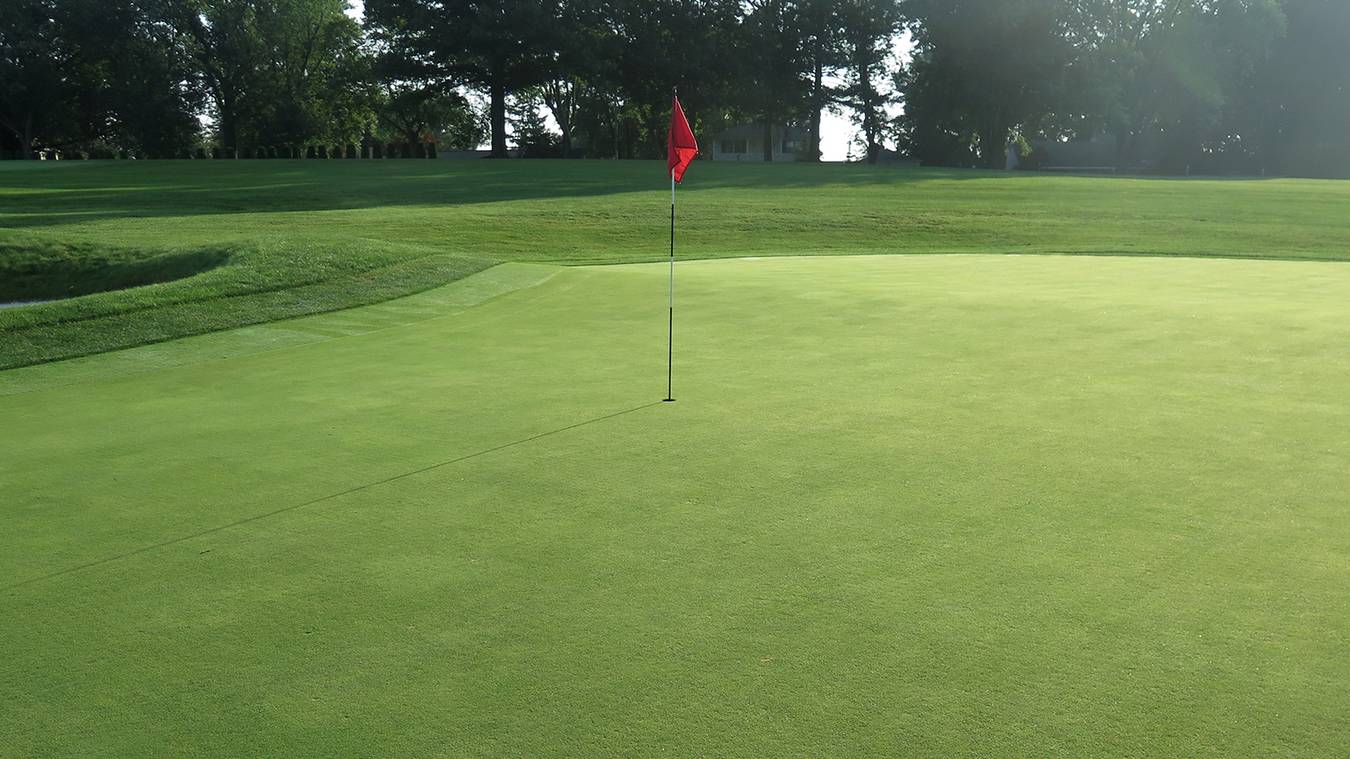
8. GREEN EDGING
Finally, define the edges of your green by sodding the perimeter with rougher grass.
This helps to distinguish the green from the fairway and rough while improving the overall aesthetics of the course.
Still not sure how to build a green? Get in touch with the Booth Golf & Leisure team to find out how we can help HERE


